How to Frame Printable Wall Art: From Download to Finished Wall
To frame printable wall art well, make five decisions in the right order: choose the frame size, decide whether it has a mount, print to fit the mount opening, fix the print in place with acid-free hinges or corners, and finish with glazing that suits the room’s light. Get that sequence right and a downloaded file becomes a piece that looks as considered as anything bought ready-framed.
A great print in a poor frame looks like a poster. An ordinary print in a slim pale-oak frame, set within a generous ivory mount, can look like genuine art. This guide takes you from the download to the finished wall, covering sizes, mounts, frame colours, glass, paper and the practical details of mounting a printed sheet so it stays flat and safe for years.
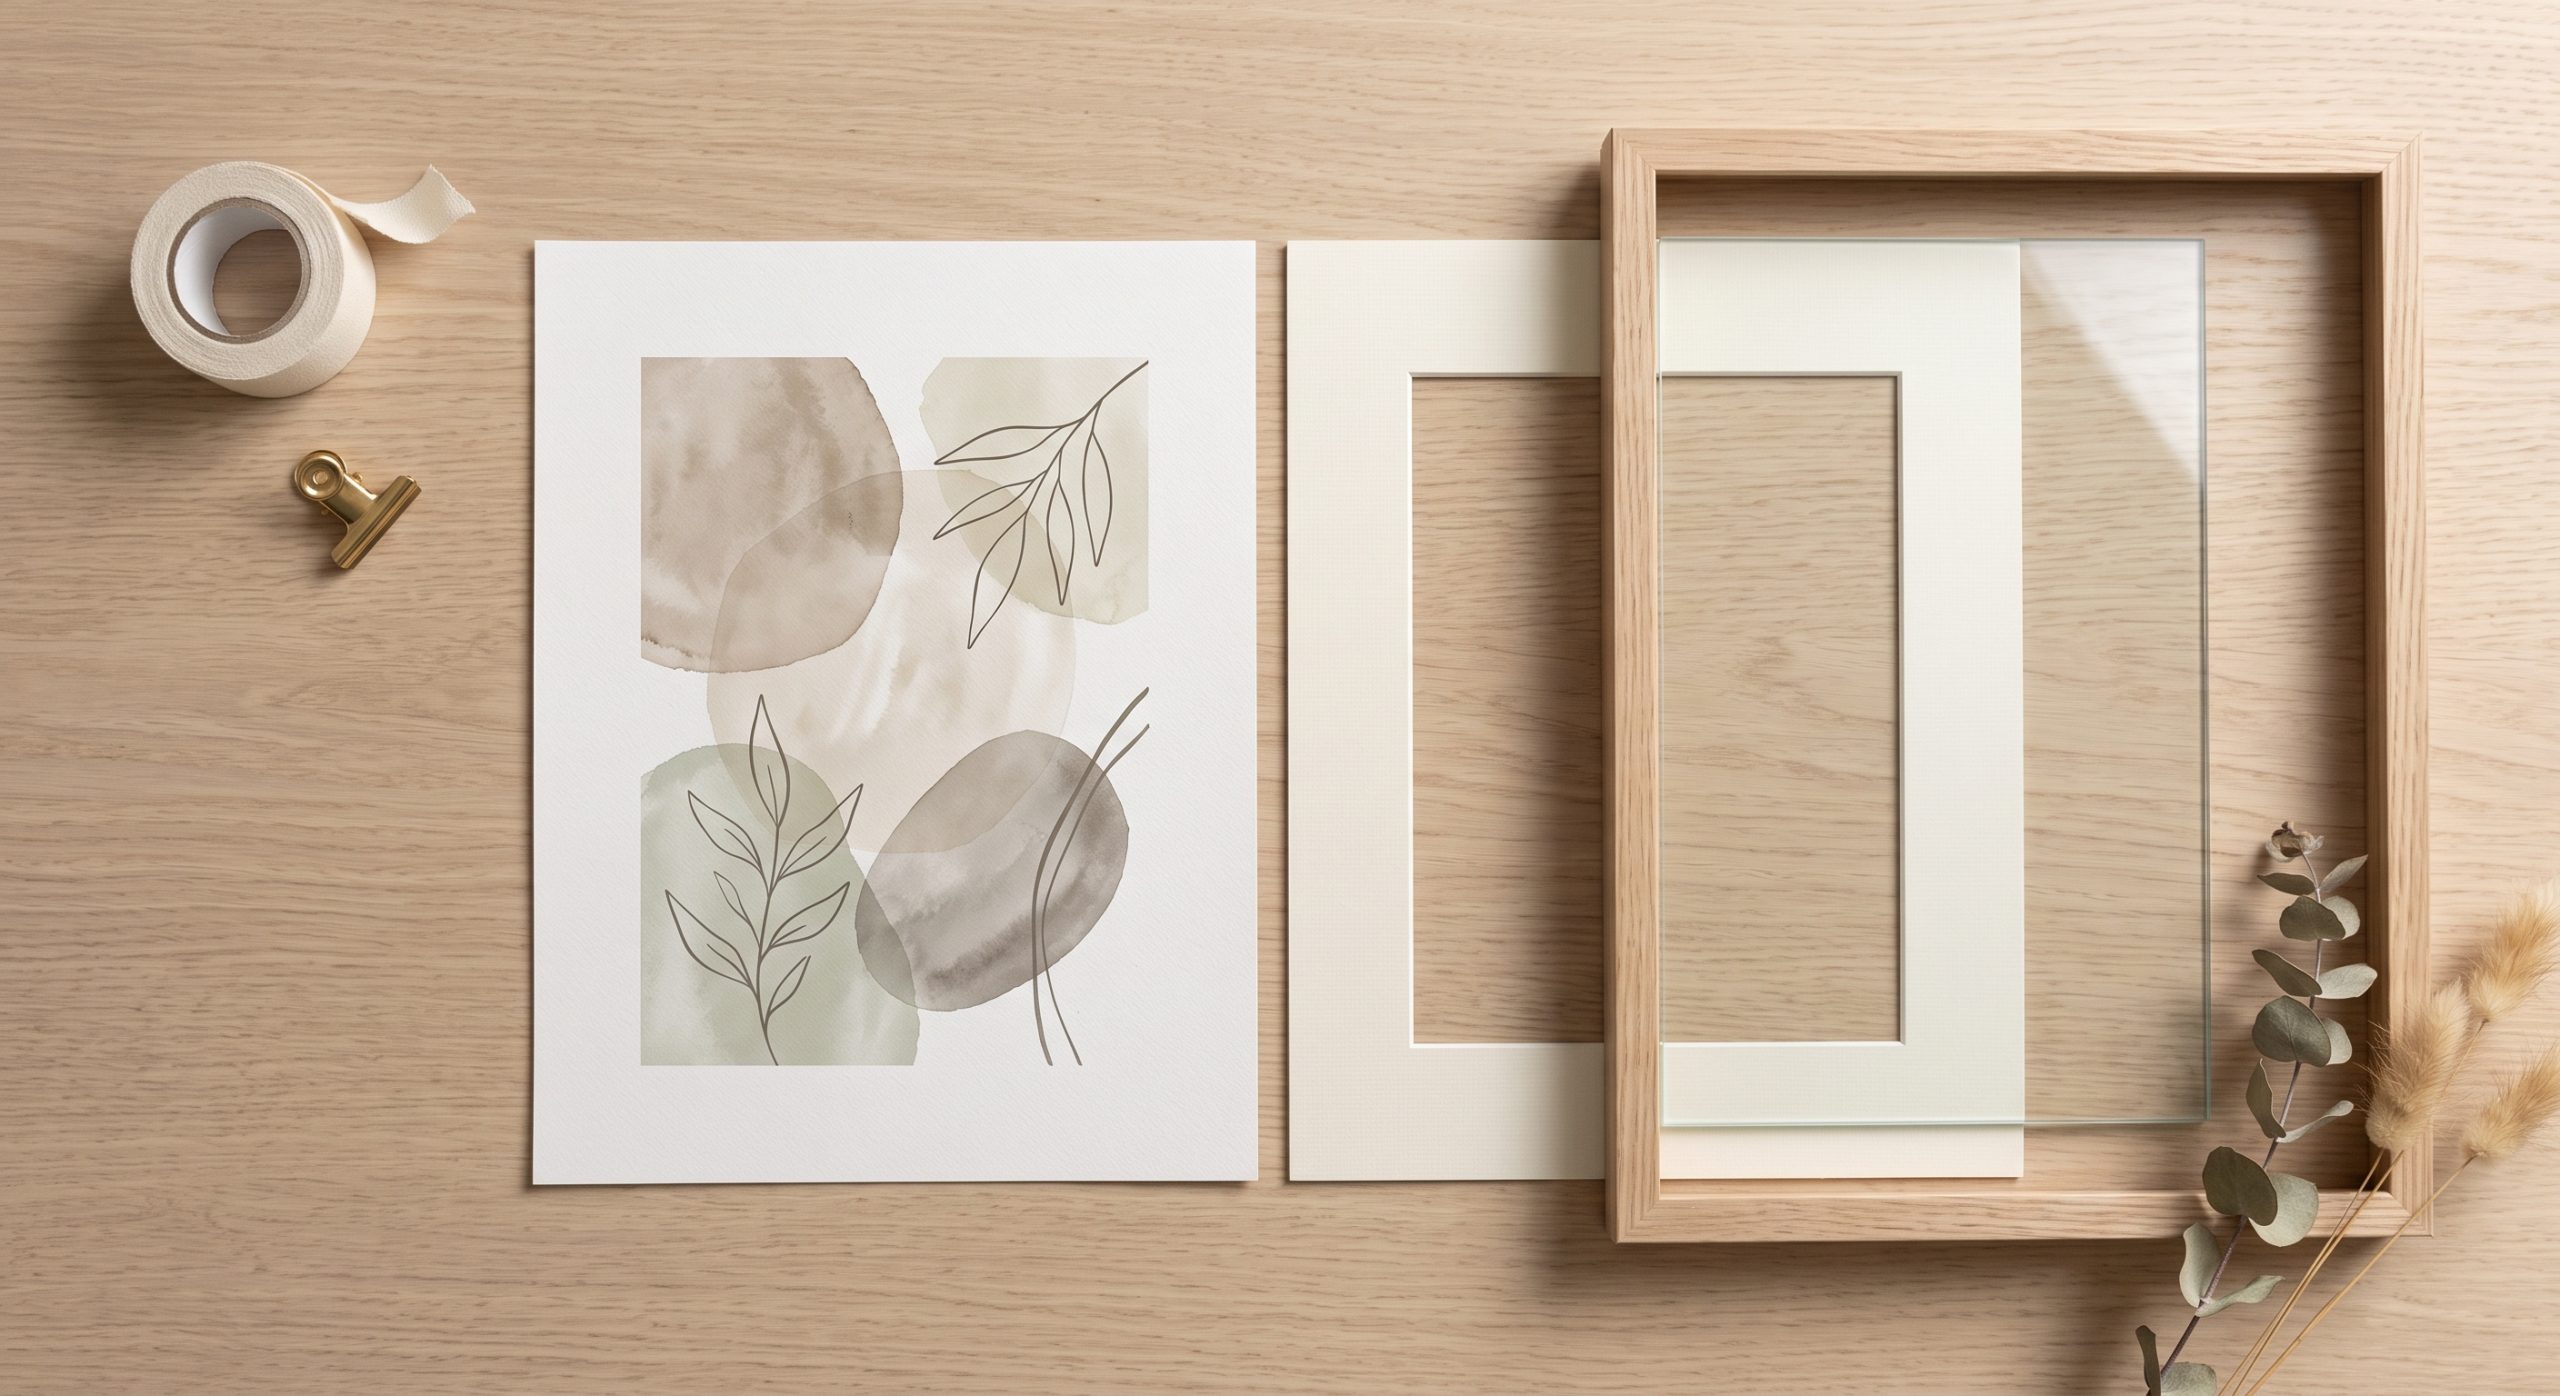
Step 1: Choose the Frame Size First
The most common framing mistake happens before anything is printed: printing first, then hunting for a frame that fits. Work the other way round.
- Measure the wall and any furniture beneath it, and decide how large the finished piece should be. Our guide to how big wall art should be helps with proportions.
- Choose a standard frame size close to that measurement. Standard sizes are cheaper, easier to find and simpler to replace.
- Decide whether the frame will have a mount. This decides the print size.
Step 2: Work Out the Print Size
If the frame has no mount, the print size is the frame size: an 8×10 in frame takes an 8×10 in print.
If the frame has a mount, the print size is set by the mount’s window (the opening). Frames sold with a mount usually state both, for example “30×40 cm frame with mount for an A4 print” or “11×14 in frame, matted for 8×10 in”. The window is cut slightly smaller than the print, typically by 3 to 6 mm (about ⅛ to ¼ in) on each side, so the mount overlaps the paper and hides its edges.
Once you know the print size, choose the file whose aspect ratio matches it. Our printable wall art size guide shows which ratio belongs to which size, so nothing gets cropped or stretched.
Common frame and print combinations
| Frame | With mount, print at | File to use |
|---|---|---|
| 11×14 in | 8×10 in | 4:5 |
| 16×20 in | 11×14 in or 12×16 in | 11:14 or 3:4 |
| 18×24 in | 12×16 in or 12×18 in | 3:4 or 2:3 |
| 30×40 cm | A4 | A-series |
| 40×50 cm | A3 or 30×40 cm | A-series or 3:4 |
| 50×70 cm | A2 or 40×50 cm | A-series or 4:5 |
Mount windows vary between brands, so measure the opening of your actual mount before printing.
Step 3: Choose the Mount
A mount (also called a mat) is the card border between the print and the frame. It does more than look nice.
- It gives the print breathing room, making even a small piece feel significant.
- It keeps the print away from the glass, preventing it from sticking to the glazing and reducing the risk of moisture damage.
- It bridges sizes, letting a print fit a larger standard frame.
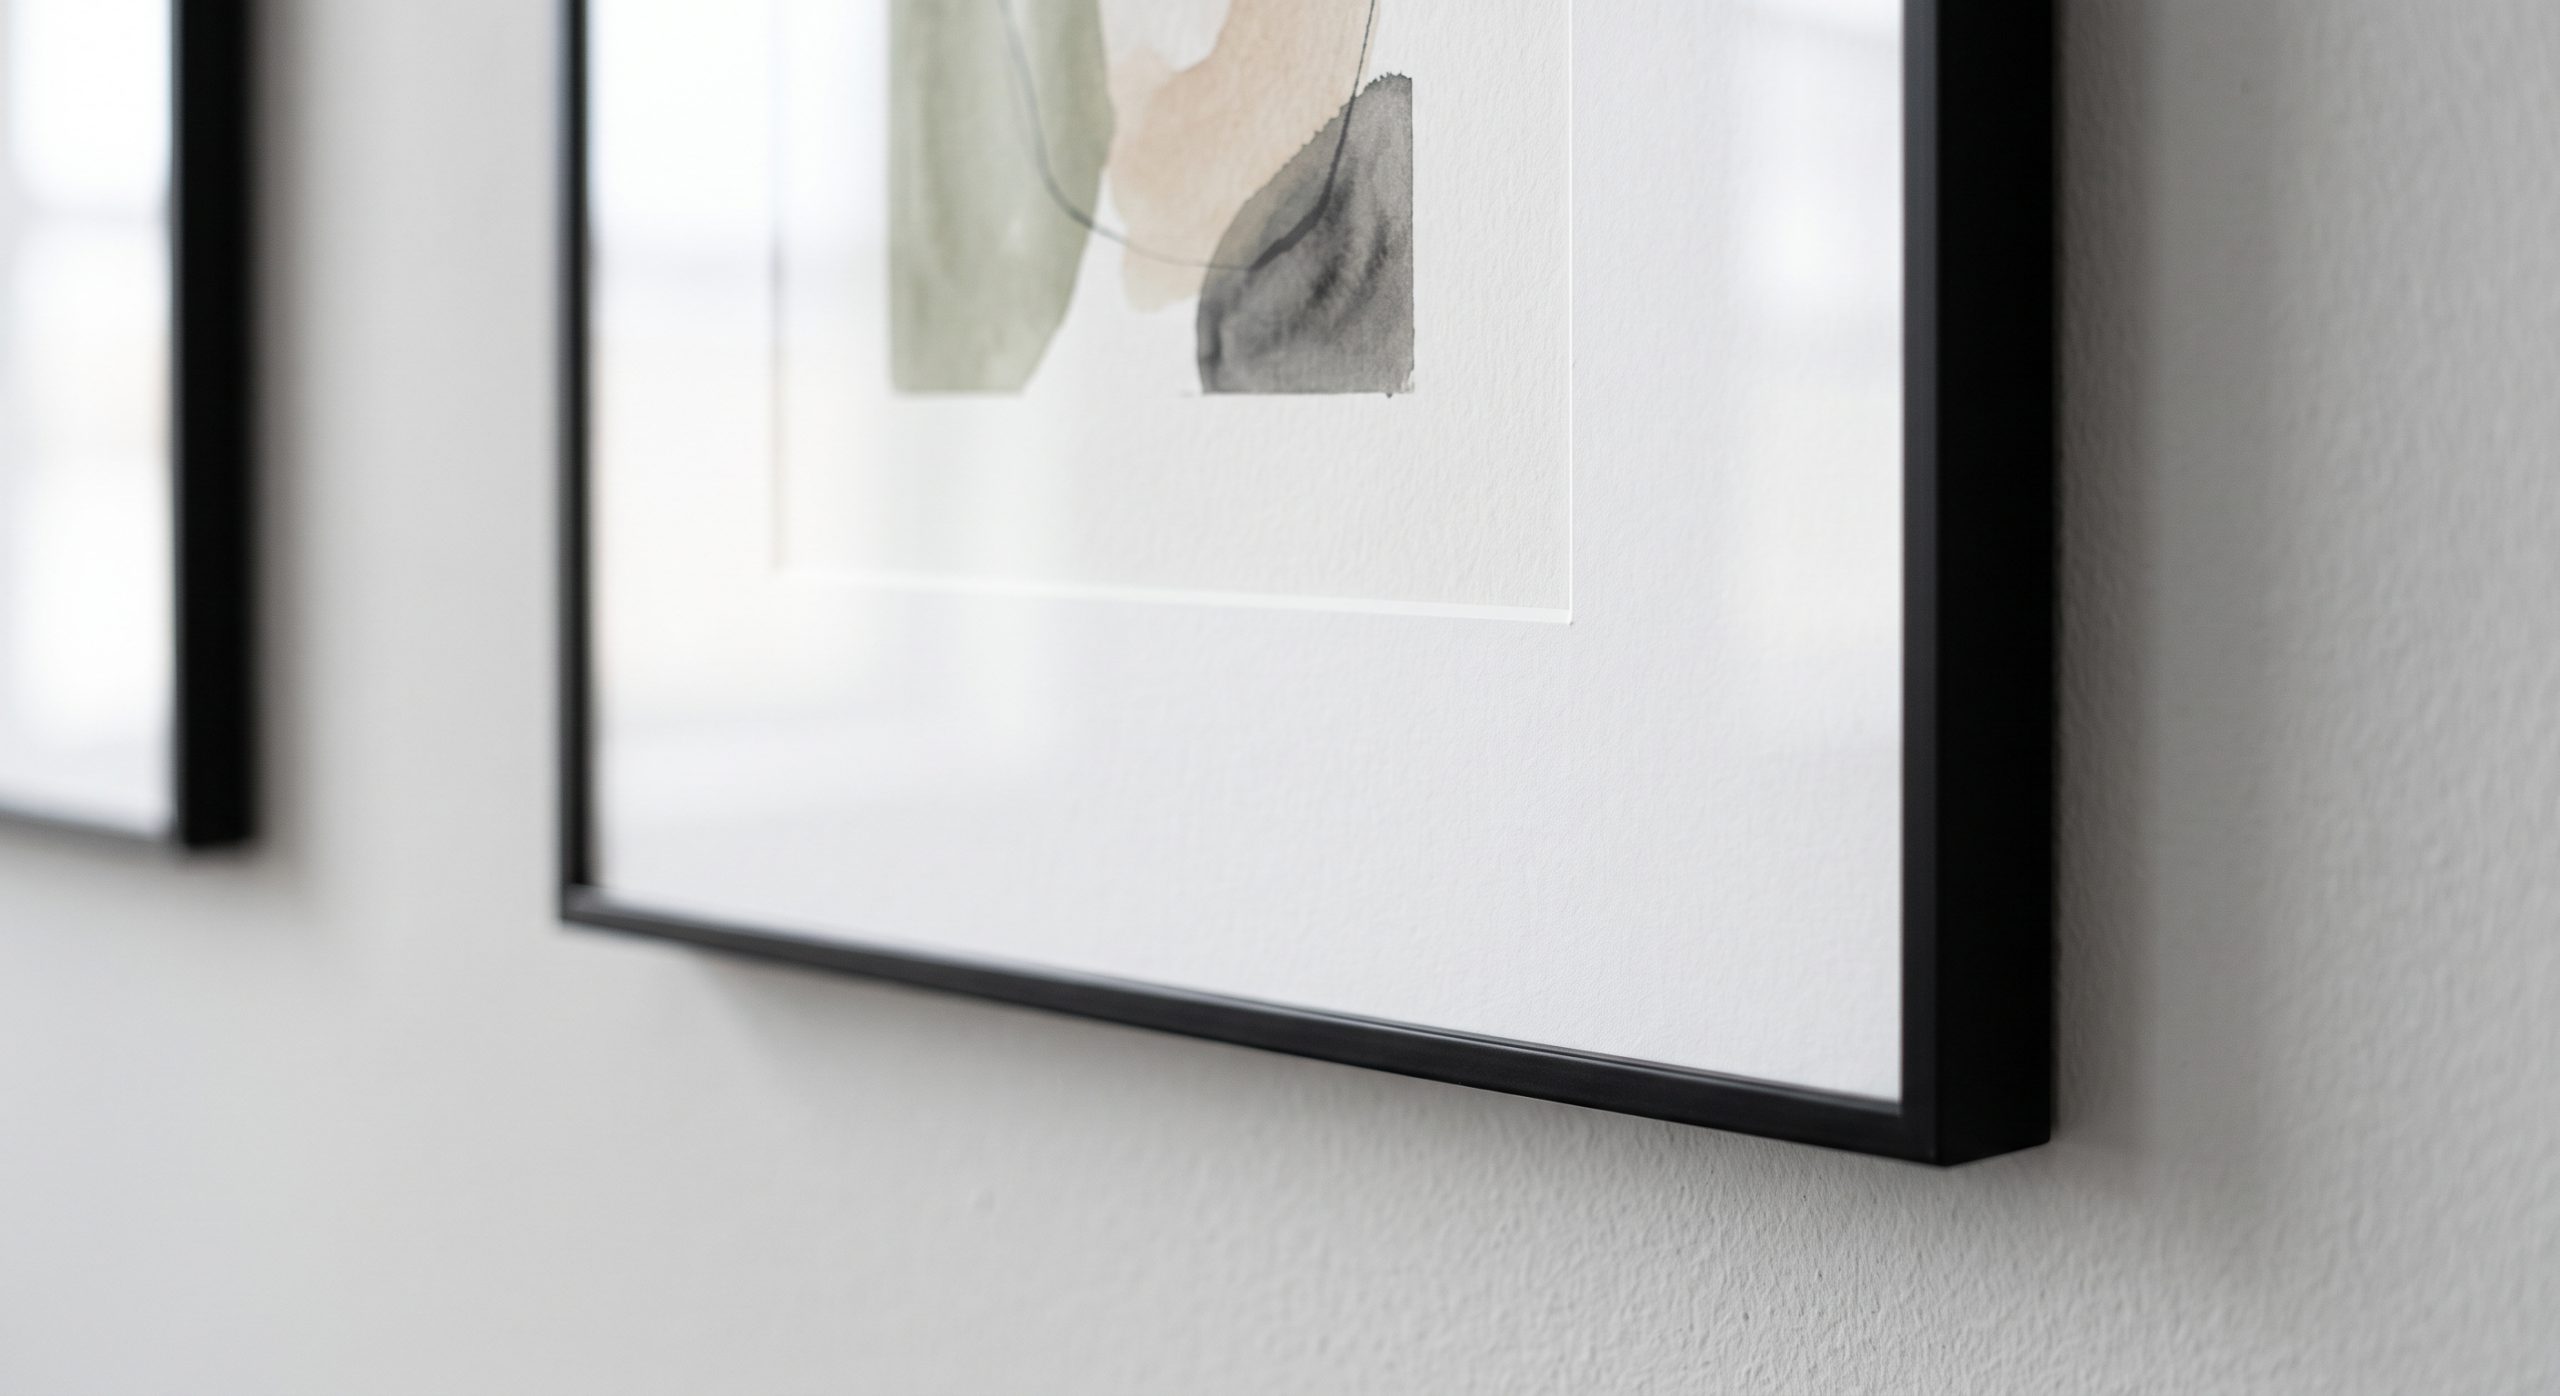
Width: a wider mount reads as more considered and gallery-like. As a rough guide, the border should be clearly wider than the frame moulding itself, and small prints often look best with a proportionally generous mount. Some framers make the bottom border slightly deeper than the top and sides, a traditional touch that stops the image appearing to sink in the frame.
Colour: warm white or soft ivory suits most neutral and abstract work. Bright white can look stark beside creamy artwork, and coloured mounts tend to date quickly.
Quality: choose acid-free mount board. Cheaper boards can yellow over time and stain the edge of the print.
Step 4: Choose the Frame Colour and Material
Wood
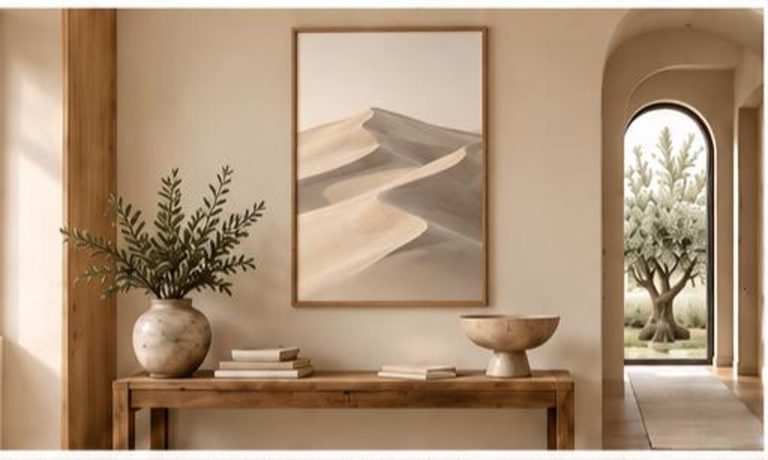
Pale oak or ash feels warm and natural, and suits organic modern, Japandi and neutral interiors. Walnut and darker woods add depth and suit warmer, richer rooms.
Metal
Slim black or brushed metal frames feel crisp and contemporary, and suit graphic line art, geometric abstraction and monochrome photography.
Painted frames
- Black sharpens contrast and suits line art and black-and-white work. Around soft beige art, a thin black frame adds definition; a heavy one can overpower it.
- White is quiet and gallery-like, and lets light-toned art blend into a pale wall.
- Natural wood is the most forgiving choice for warm neutral art.
Match the frame to the room as well as the art. See what minimalist art is and what Japandi art is for the styles these choices typically support.
Step 5: Choose the Glazing
- Standard glass is affordable and clear, but shows glare and is heavy and fragile.
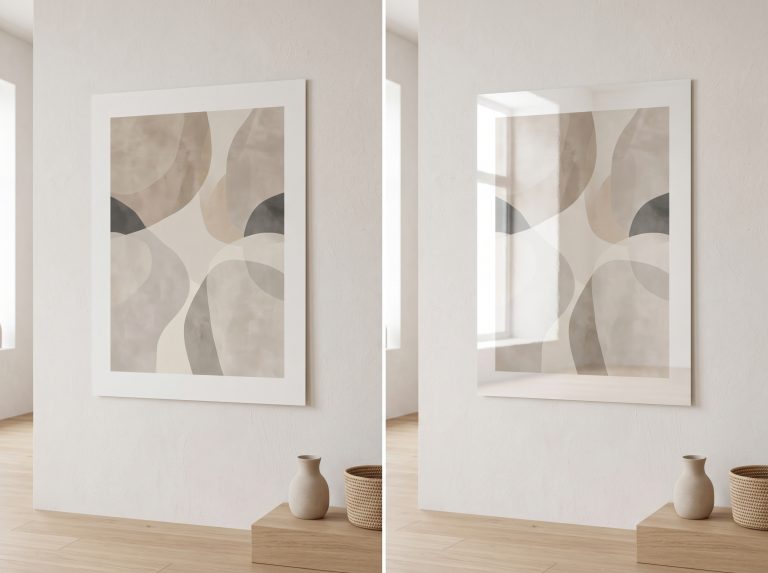
- Anti-reflective or museum glass dramatically reduces reflections. It costs more, but is worth it opposite a window or under a picture light.
- UV-filtering glazing slows fading. It matters for prints in sunny rooms, especially on papers with optical brighteners.
- Acrylic (Perspex or Plexiglas) is light and shatter-resistant, the practical choice for large prints, stairwells and homes with children. It scratches more easily, so clean it only with a soft cloth.
Step 6: Print on the Right Paper
Paper and frame work together. Behind glass, a matte or fine art paper avoids a double layer of shine, and heavier papers of roughly 200gsm or more lie flatter in the frame. Glossy prints should never touch the glass directly, since they can stick to it over time. Our guide to the best paper for printable wall art covers this in detail, and where to print digital art from Etsy compares print services.
Before framing, let any inkjet print dry and flatten fully. Many printers recommend at least a few hours, and longer for heavy ink coverage.
Step 7: Mount the Print Safely
Printable art arrives as a loose sheet, so it needs fixing in place. The aim is to hold it securely without damaging it or stopping it from moving naturally with changes in humidity.
- Hinge it from the top. Use two hinges of acid-free tape along the top edge only, attached to the back of the mount or to the backing board, so the paper hangs freely. A “T-hinge” adds a crosspiece of tape over each hinge for strength.
- Or use photo corners. Acid-free corners on the backing board hold the print without any adhesive touching it, and make it easy to swap prints later.
- Avoid ordinary tape and glue. Masking tape and household adhesives yellow, lose grip and can stain or tear the paper.
- Do not tape all four sides. Paper expands and contracts slightly with humidity; fixing every edge causes ripples.
- Clean the glass first and check for dust and hairs before closing the frame.
Framing Neutral Art
Soft, tonal artwork needs a little help to stand out from a pale wall. A few approaches work well with neutral pieces such as those in our Neutral Abstract Printable Wall Art Collection:
- Use a warm, wide mount to frame the image in calm space.
- Add definition with the frame. Pale oak keeps things soft; a slim walnut or black frame adds a crisp edge on a beige wall.
- Avoid bright white mounts beside creamy artwork, which can make the art look grubby by comparison.
- Use matte paper and low-reflection glazing, because glare flattens subtle tones.
For more on separating neutral art from neutral walls, see how to mix different shades of neutral artwork.
Framing Large Prints
- Use acrylic glazing above roughly 50×70 cm or 20×30 in, to keep the weight manageable and the frame safe.
- Choose a sturdier frame moulding that will not twist or bow under the weight.
- Use a rigid backing board so the print stays flat.
- Hang from two points rather than one, using D-rings and two hooks, so the frame stays level and secure.
- Consider a professional framer for large or valuable prints, oddly sized pieces, or a float mount where the paper’s edges are left visible.
DIY Framing vs a Professional Framer
Off-the-shelf frames from homeware shops are economical and perfectly good for most printable art in standard sizes. A framer is worth the extra cost for large or important pieces, non-standard sizes, conservation-grade materials, or specialist finishes that ready-made frames do not offer.
Framing a Set or Gallery Wall
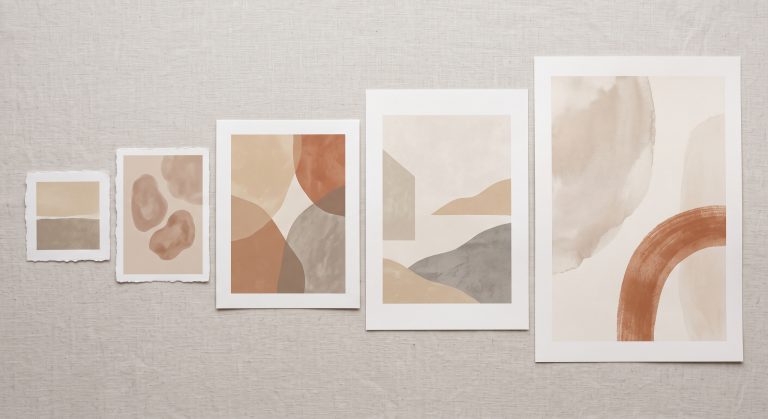
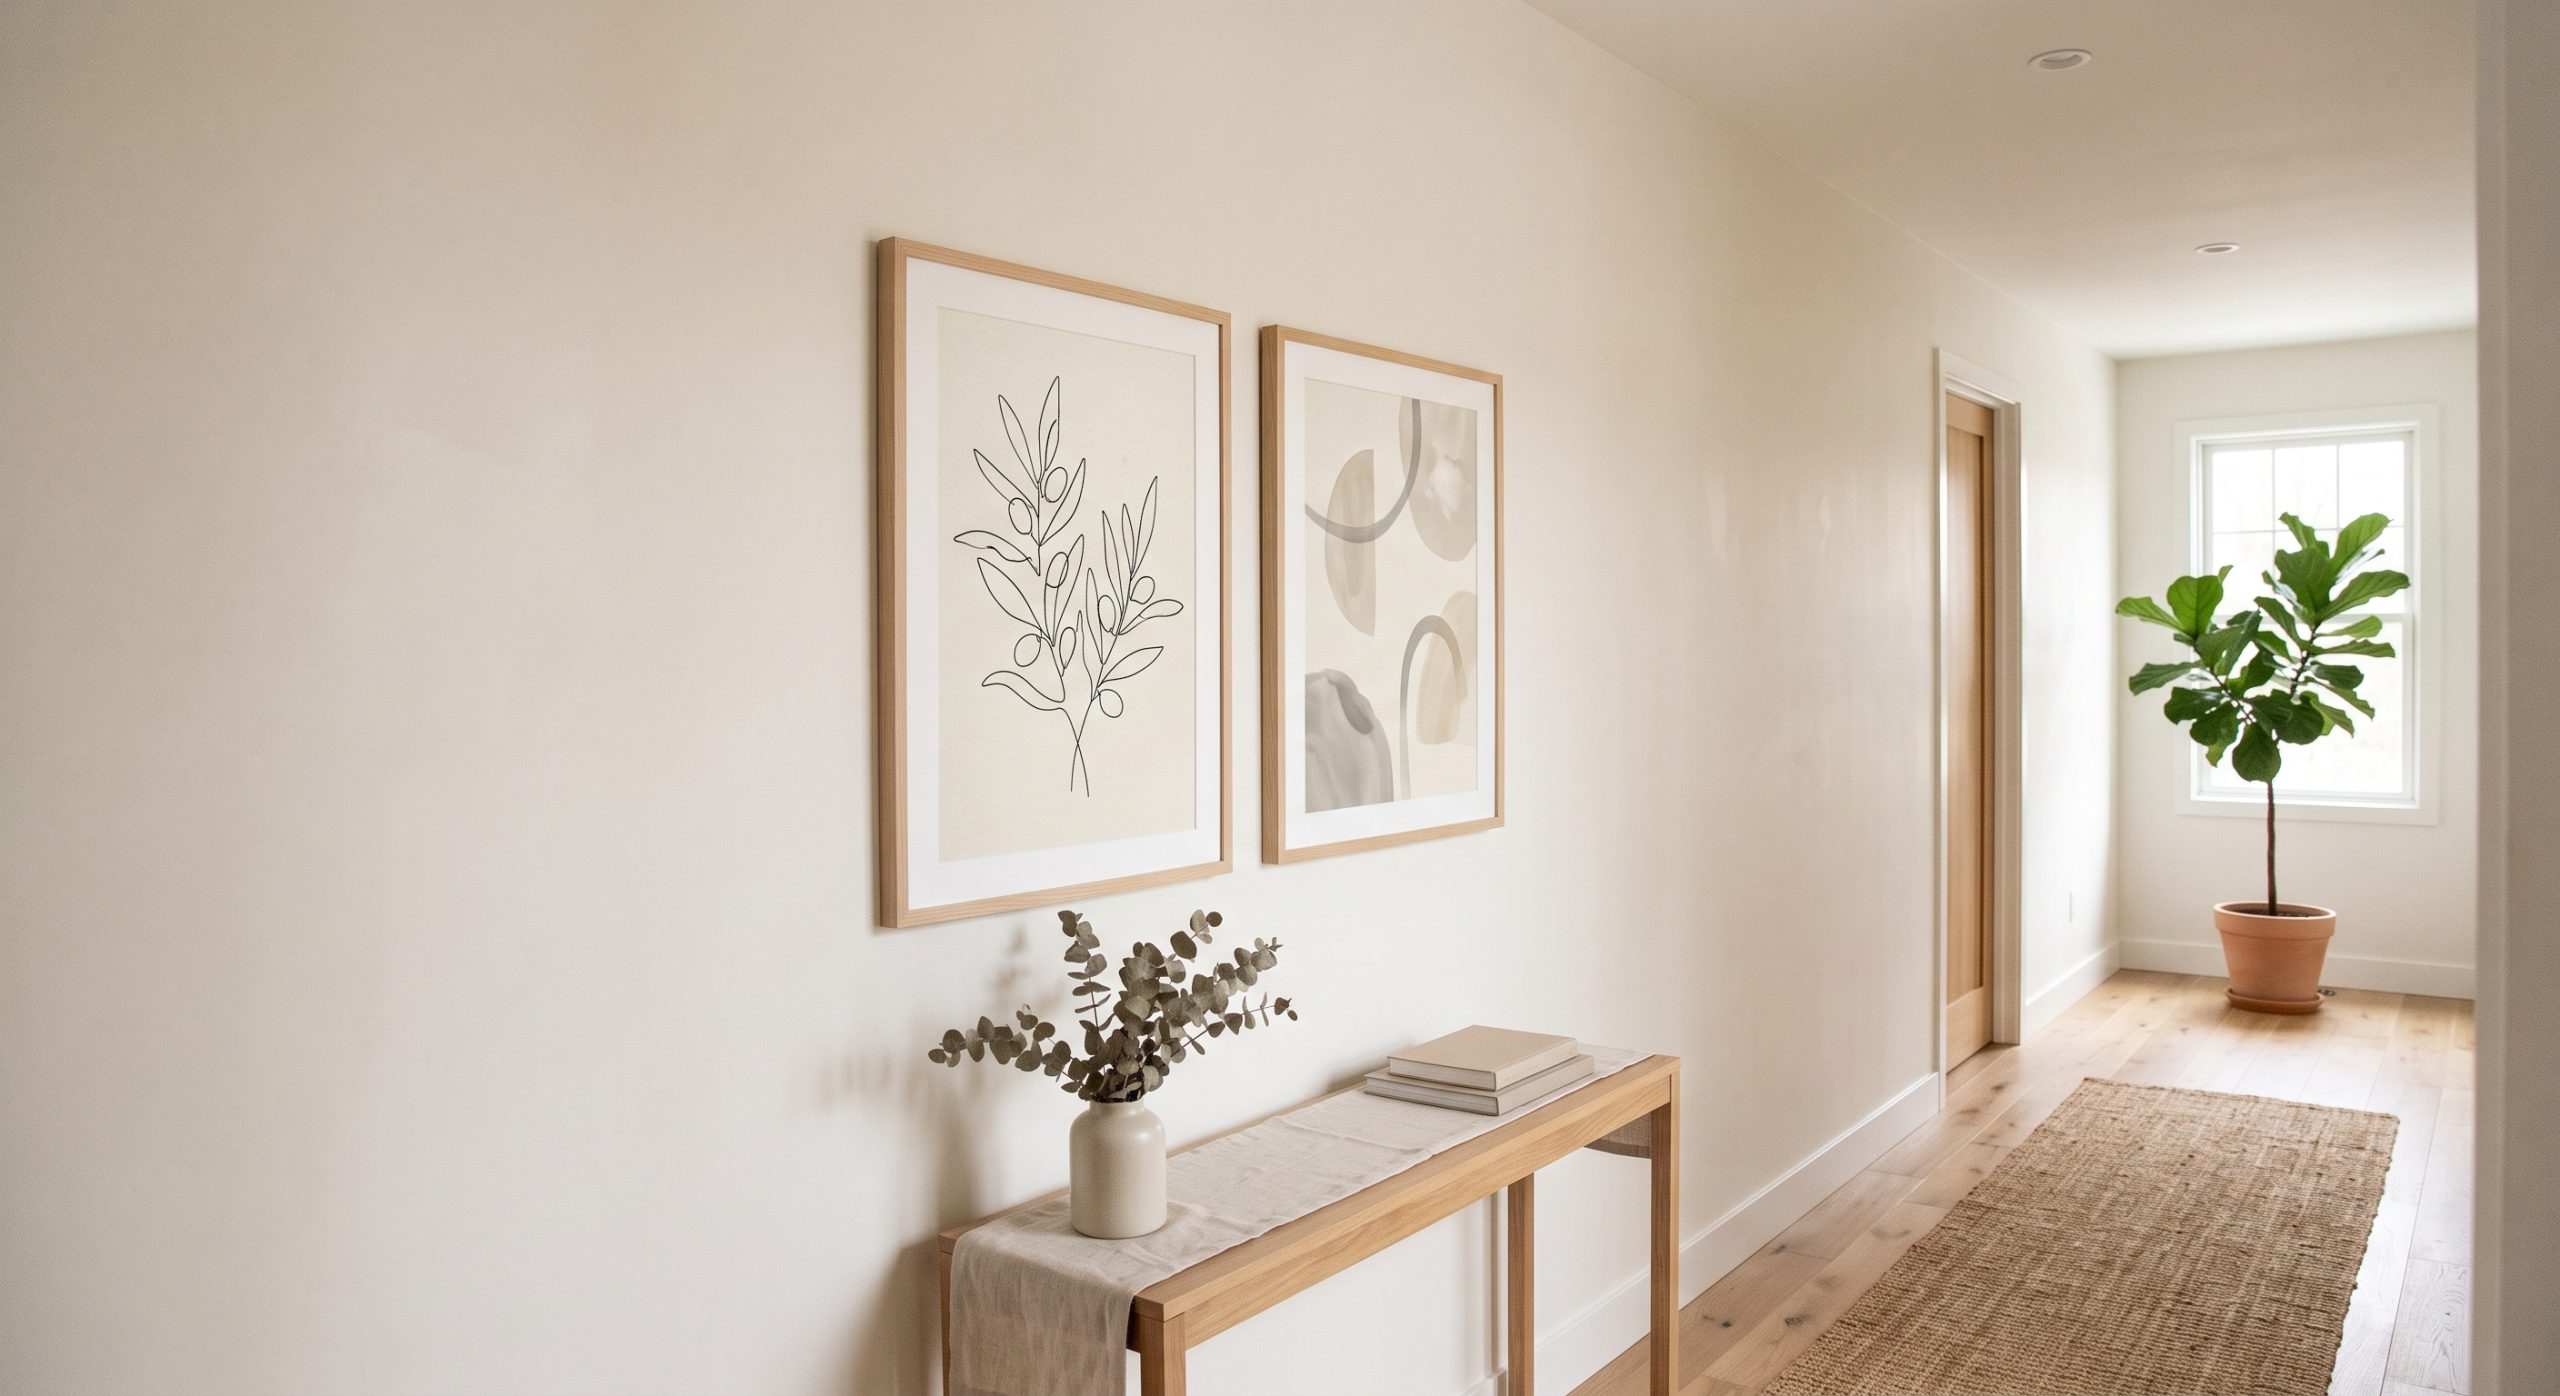
When framing several prints together, keep the frame style and mount width consistent. That single decision does most of the work of making separate pieces read as one considered group. See how to choose art for a gallery wall and how to plan a gallery wall layout.
Common Framing Mistakes
- Printing before choosing the frame, then finding the sizes do not match.
- Measuring the frame instead of the mount window.
- Using the wrong ratio file, so the art is cropped or leaves gaps.
- Skipping the mount, which can make a print look thin and unfinished.
- Fixing the print with household tape or glue.
- Letting a glossy print touch the glass.
- Choosing standard glass for a wall in strong light, then fighting glare.
- Mixing too many frame styles in a set meant to feel cohesive.
Final Thoughts
Framing is where a printed sheet becomes a finished piece of art. Choose the frame first, print to fit the mount window, fix the print with acid-free hinges or corners, and pick glazing that suits your light. Keep the mount warm and generous, and the frame in step with the room, and no one will guess the artwork started life as a download.
For the earlier steps, see what printable wall art is and the most common art print sizes.