How to Plan a Gallery Wall Layout
The single most useful tool for planning a gallery wall costs nothing: paper and tape. Almost every gallery wall mistake, crooked spacing, a lost anchor piece, an arrangement that never quite balances, comes from skipping this step and going straight to the wall with a hammer.
This guide walks through a complete layout process, from measuring the space to the final adjustments once everything is hung. For choosing what to include first, see how to choose art for a gallery wall.
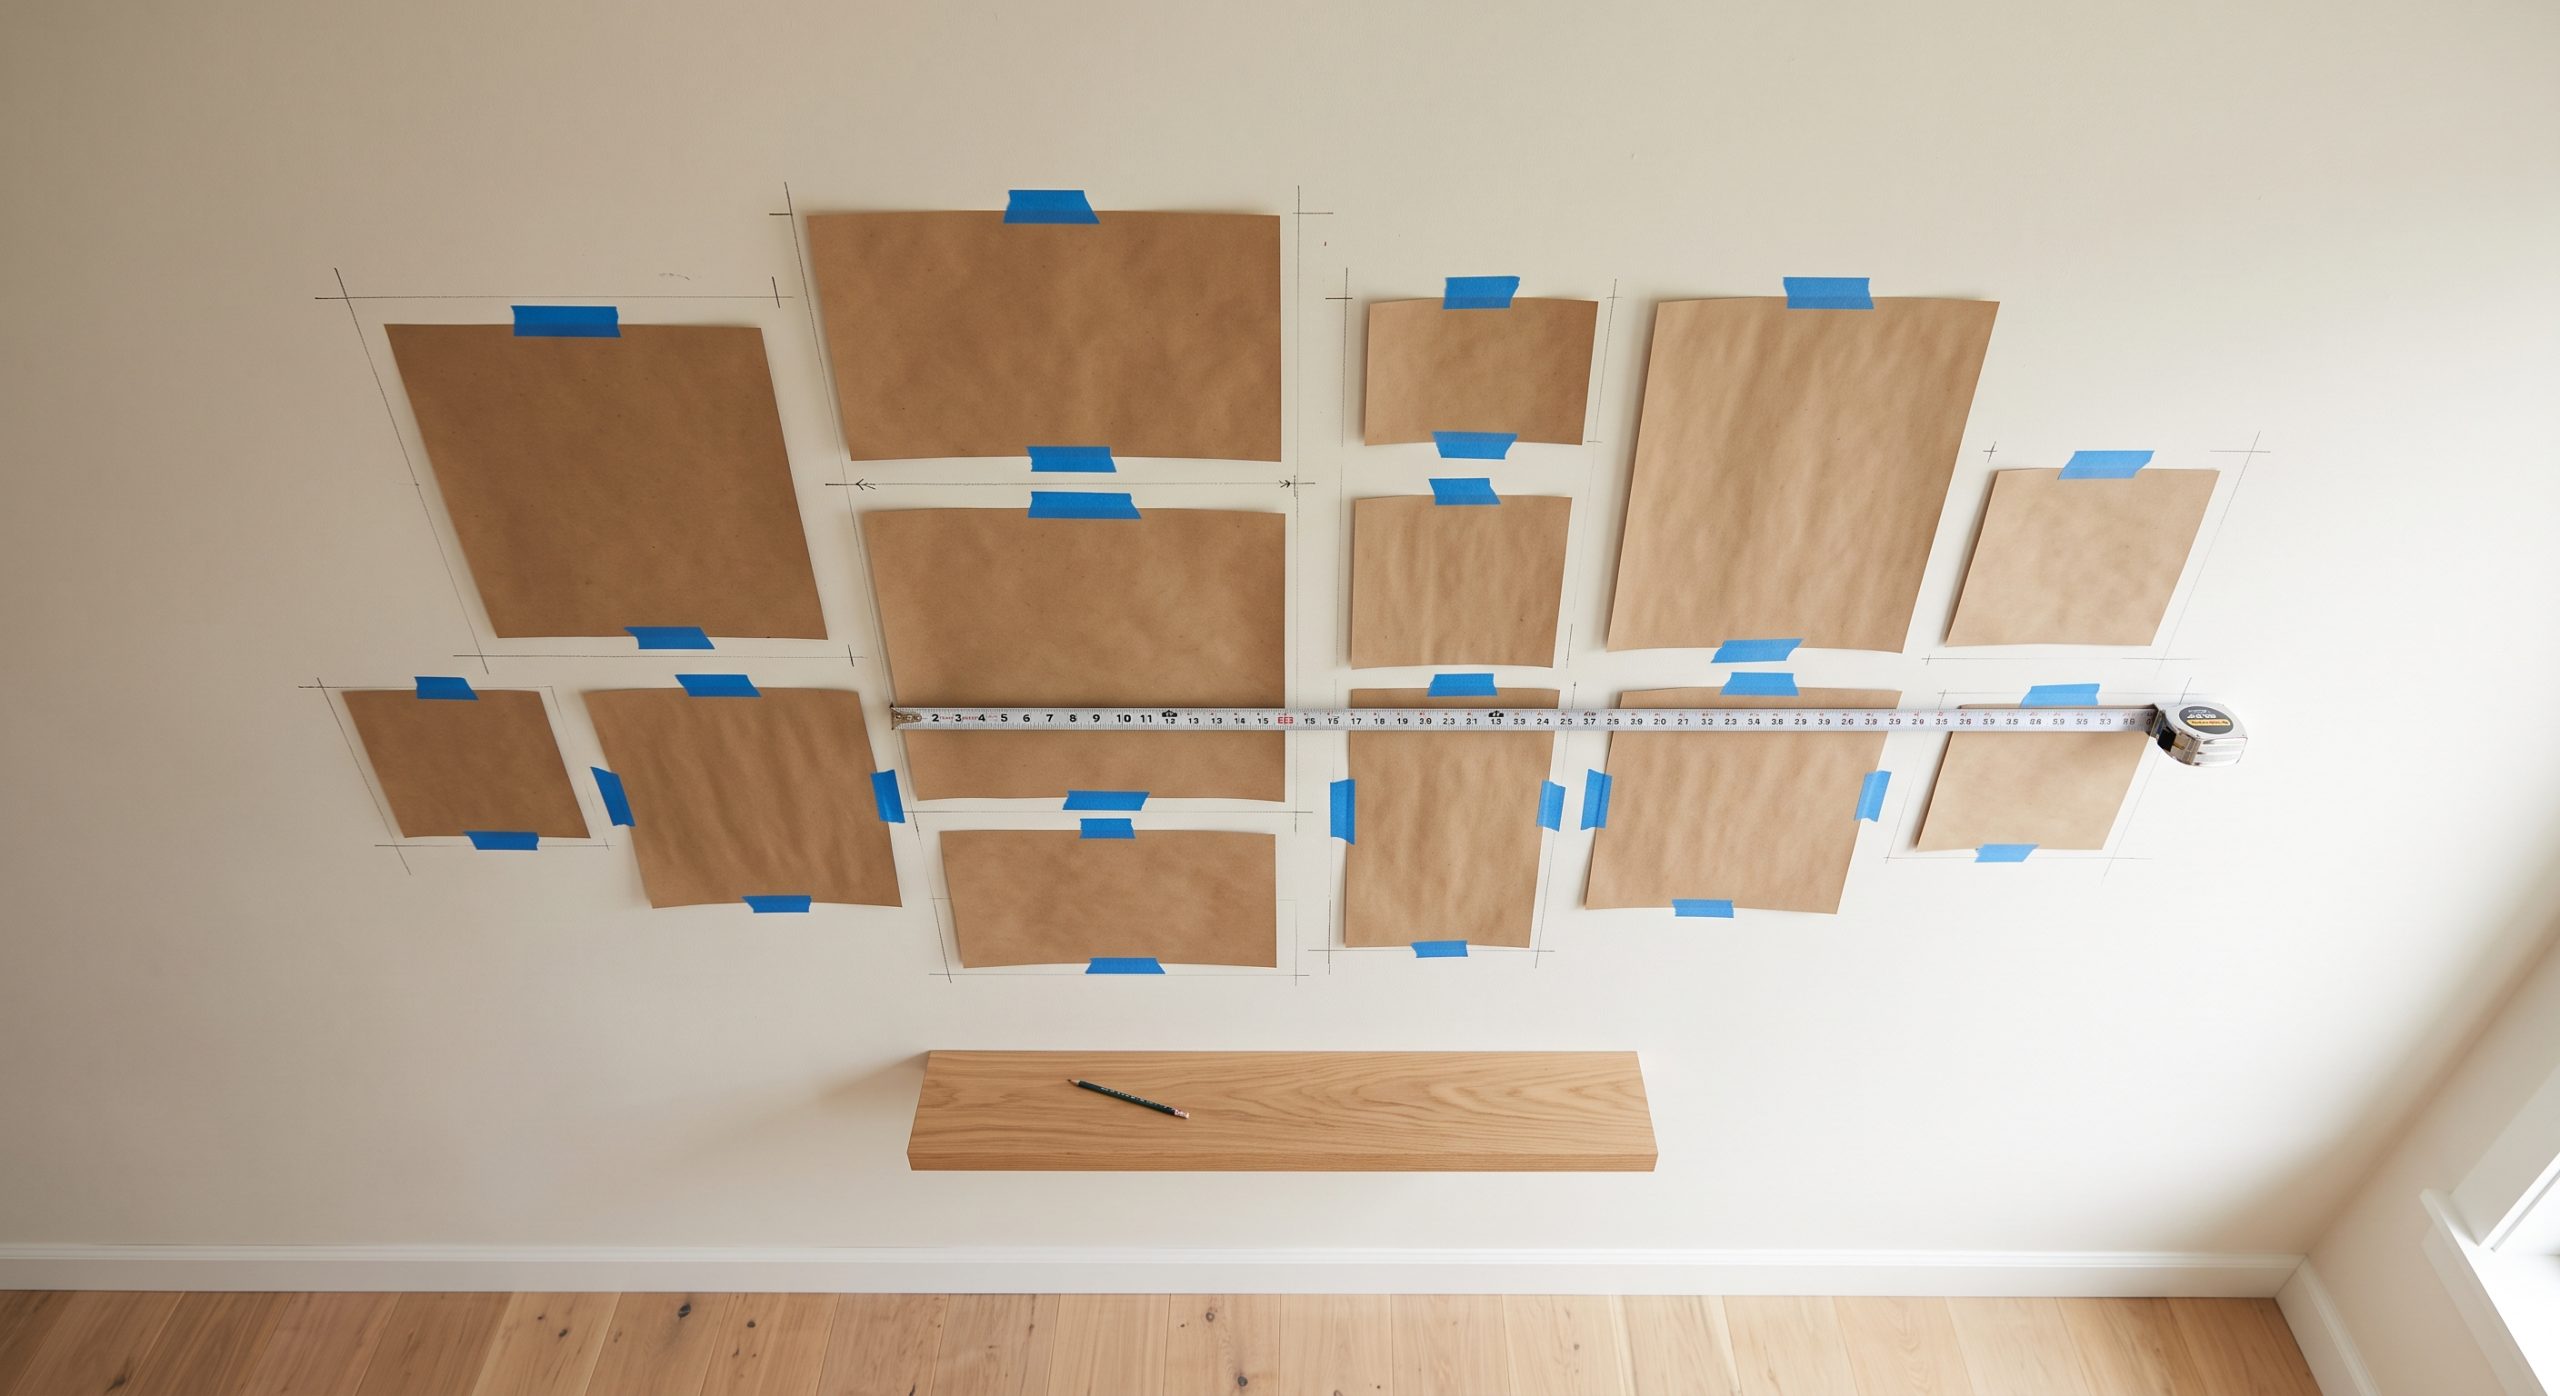
Step 1: Measure the Space
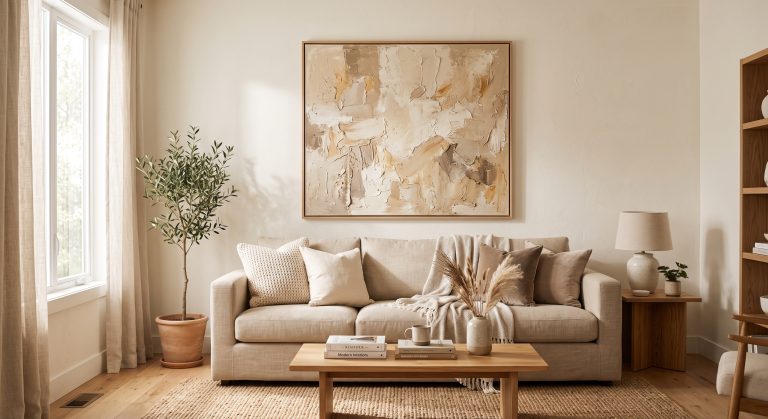
Measure the wall, or the furniture beneath it if the group will sit above something. As a starting point, aim for the whole arrangement, including gaps, to span roughly 60 to 75% of that width. This matches the scale guidance in how to choose abstract art for your home.
Step 2: Choose Your Layout Style
Grid
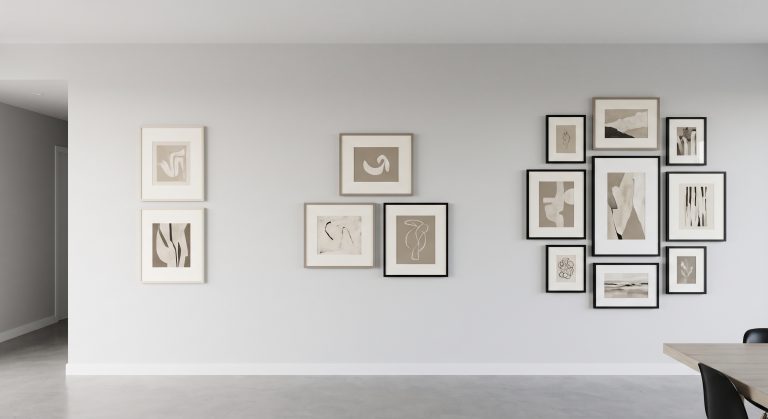
Even rows and columns, matched sizes, consistent gaps. Precise and architectural, but unforgiving of small errors.
Organic or salon
Mixed sizes, looser alignment, often anchored along one edge rather than a strict centre line. More forgiving, and better suited to varied formats.
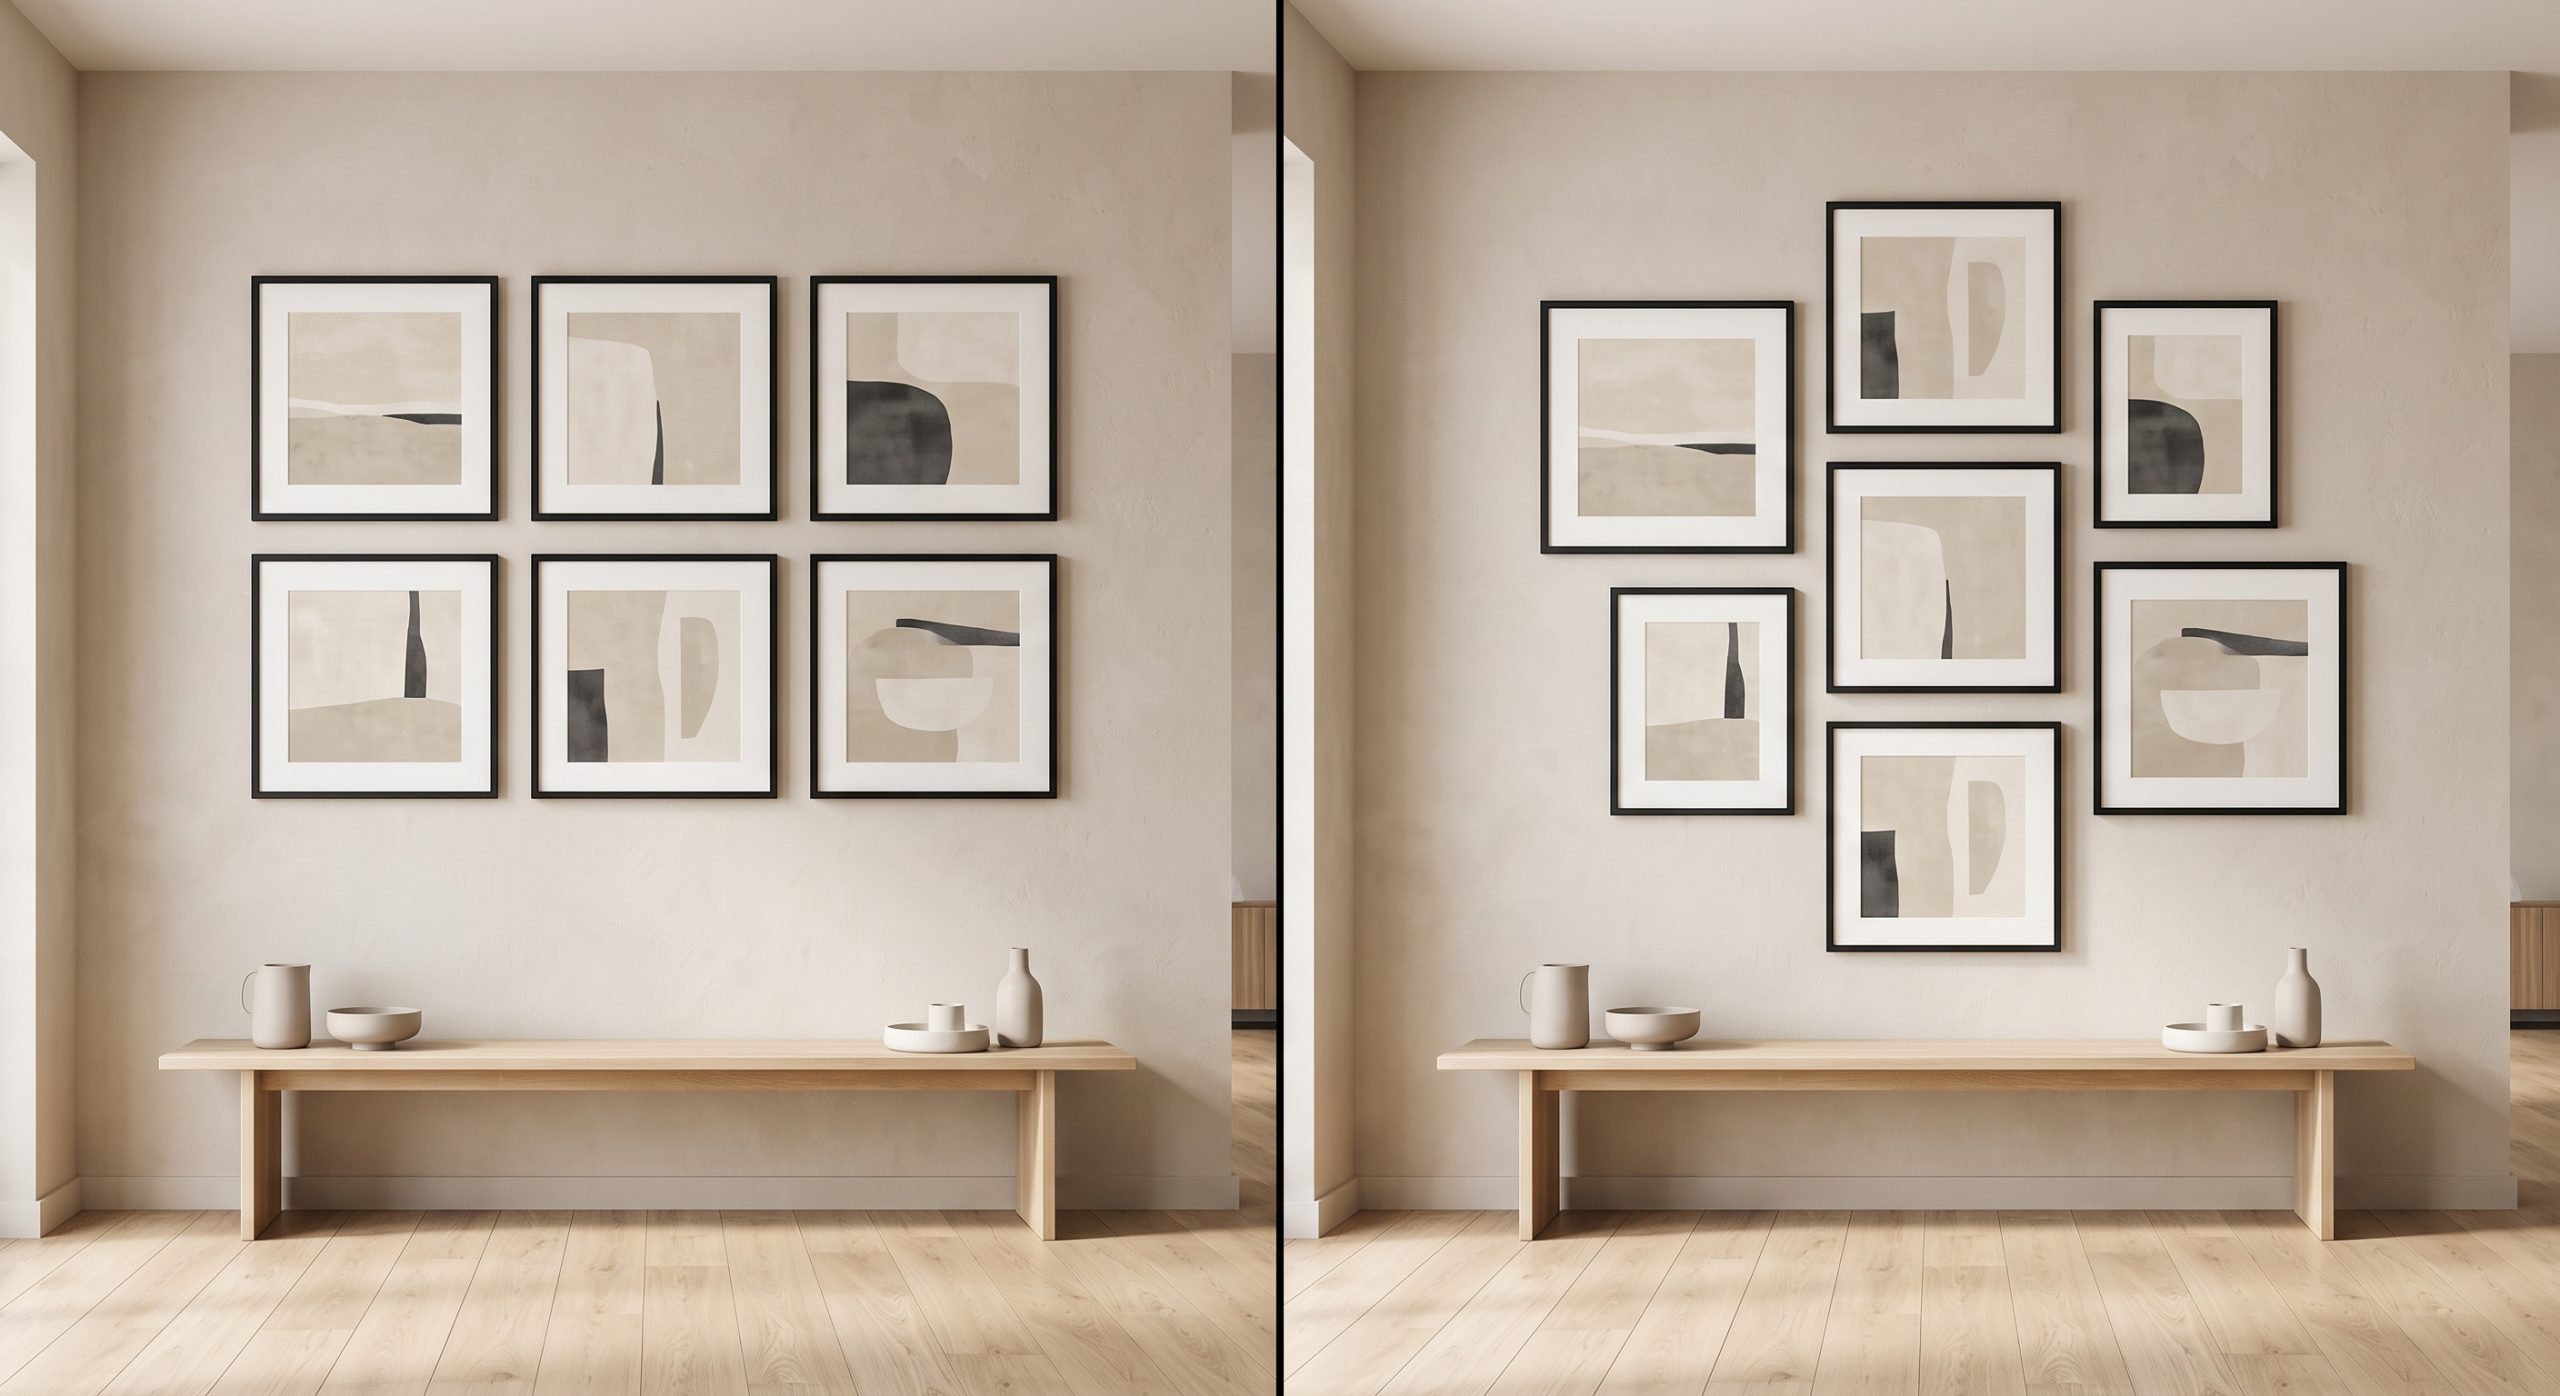
Decide which suits your pieces and room before you start measuring gaps, since the two styles use spacing differently.
Step 3: Find Your Anchor Piece
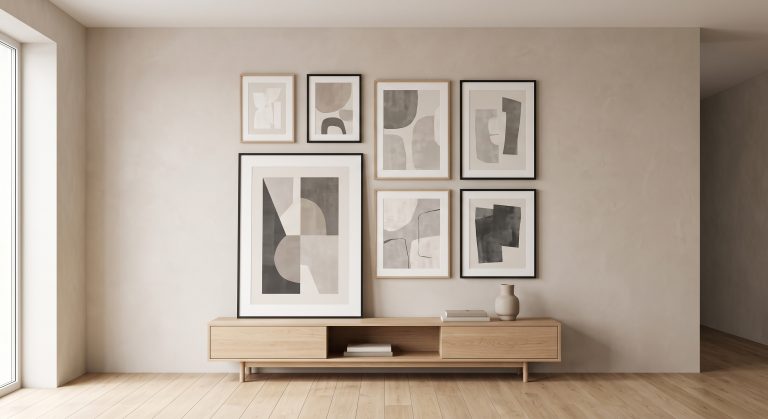
Choose the largest, boldest or most detailed piece first. In most layouts, it sits at eye level and roughly central to the group, whether that group is above furniture or standing alone on an empty wall.
Step 4: Trace Paper Templates
Cut kraft paper or newspaper to the exact size of each piece, including its frame. Label each one. This is the step that turns guesswork into a testable plan.
Step 5: Lay It Out on the Floor First
Arrange the templates on the floor in the shape of your wall. This lets you try several arrangements quickly, without a single piece of tape on the actual wall yet.
Step 6: Set Your Spacing
A commonly used spacing guideline is two to three inches (roughly 5 to 8 cm) between pieces, kept consistent throughout the group. Tighter spacing feels bold and graphic; looser spacing feels calmer and more spread out. Whichever you choose, consistency matters more than the exact number.
Step 7: Tape the Templates to the Wall
Transfer the layout from the floor to the wall using painter’s tape, working outward from the anchor piece. Step back frequently and view the arrangement from across the room, not only up close.
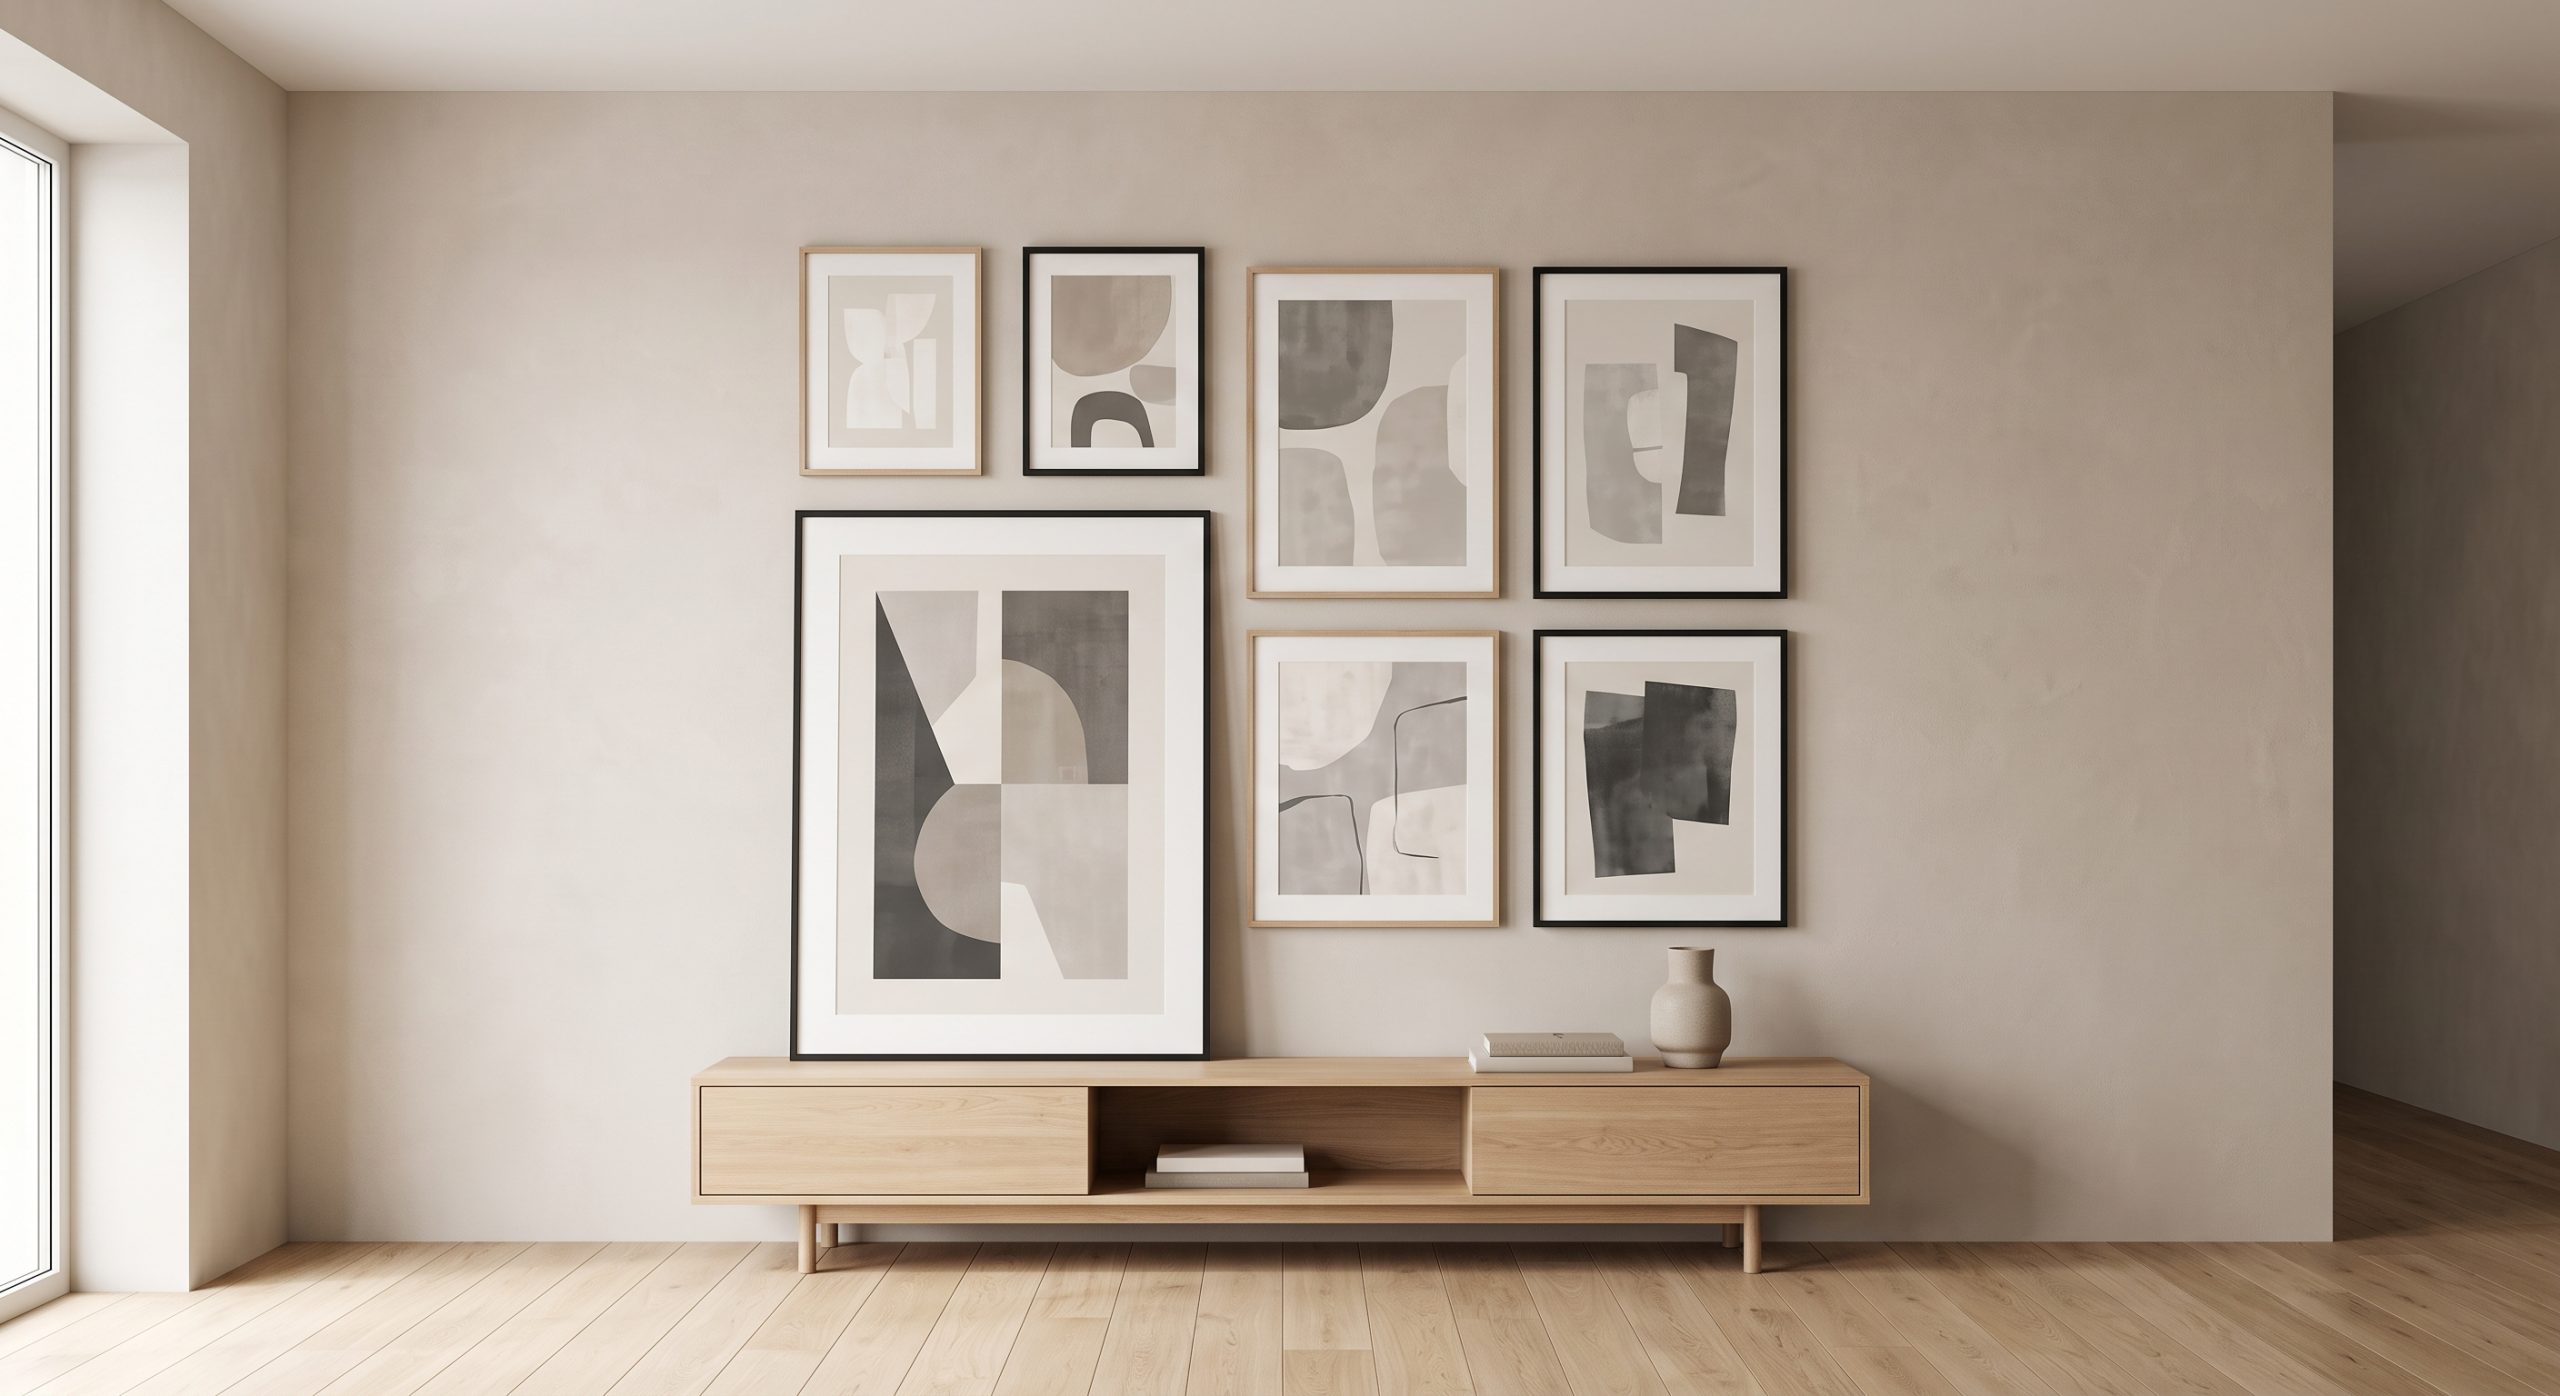
Step 8: Live With the Paper First
Leave the templates up for a day or two if you can. Layouts that look right in the moment sometimes reveal problems once you have walked past them a few times, such as a piece sitting slightly too high or a gap that feels larger than the others.
Step 9: Mark and Hang
Mark the top centre of each template through the paper before removing it, so you know exactly where each hanging point goes. Hang the anchor piece first, then work outward, checking spacing against the templates as you go.
Step 10: Adjust Once It’s Up
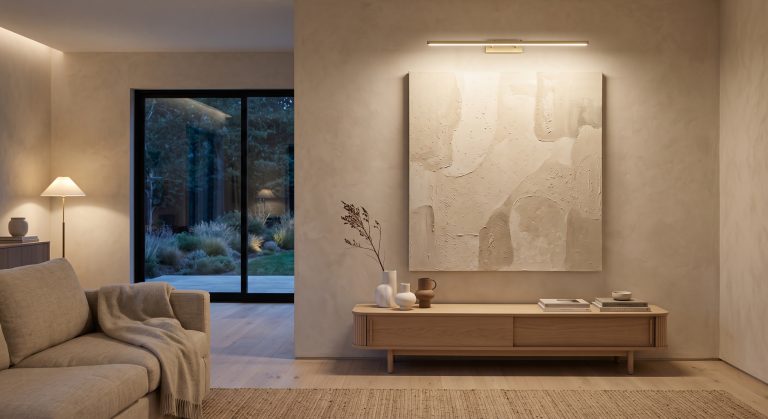
Small adjustments are normal even after careful planning. Check the arrangement in daylight and in the evening, since lighting can make spacing look different at different times.
A Few Practical Notes
- Centre lines vary by room. Above furniture, the group is often centred on the furniture rather than the wall.
- Eye level is a guide, not a rule. A commonly used reference is a centre point around 145 to 150 cm from the floor for a standalone wall.
- Uneven walls happen. A slightly imperfect grid is usually less noticeable than an attempt to force perfect alignment on an uneven wall.
Common Mistakes
- Skipping paper templates and hanging directly
- Inconsistent spacing between pieces
- No anchor piece to organise the rest around
- Centring on the wall when the group should be centred on furniture, or the reverse
- Rushing the final adjustment step
Final Thoughts
A gallery wall layout is a plan you test before you commit to it. Paper templates cost almost nothing and remove nearly all the risk, so there is little reason to skip them.
Once the layout is right on paper, hanging the real thing is simply a matter of following the marks.